In order to create a new driver follow these steps:-
Click here to watch the video of driver creation
On the left side, menu go to Set Users >
Click on the driver Icon
and then ADD Driver
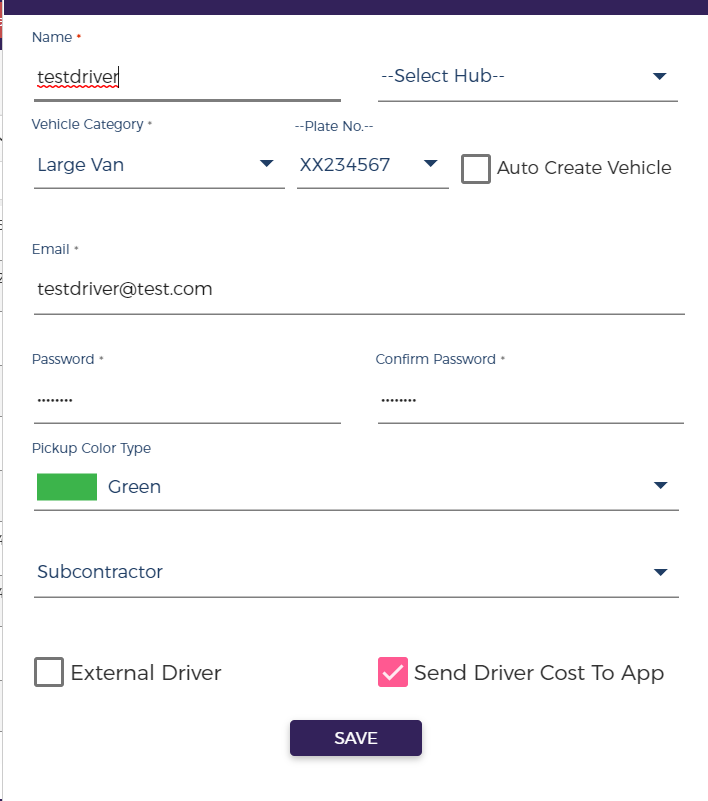
A pop-up form will open, fill in all the required information and SAVE
- Name: Fill driver name
- HUB: Select hub from the dropdown if there is any HUB created by you (this is an optional field)
- Vehicle Category: Select a vehicle category as per the vehicle you want to assign to the driver.
- Vehicle Plate Number: Assign an already created non-assigned vehicle plate number to the driver.
- Auto Create Vehicle: You can select the Check box next to “Auto Create Vehicle”. This will Auto-create a vehicle for the Driver. Alternatively, you can also create a vehicle from the Vehicle page (Manually) and assign that vehicle while Adding the Driver into the System.
- Email: Provide a unique email address that the driver will be using to log in to the Instadispatch driver app.
- Pickup Color Type: The driver route line/Icon will be visible on the route map in the assigned color.
- Subcontractor:
- External Driver: Select the option only when you are creating an external driver for any other subcontractor and select subcontractor from the dropdown. One needs to create a subcontractor from the subcontractor menu.
- Send Cost to Driver App: Clicking on this option will send the driver’s cost to the driver, so the driver will be able to see the total cost of the pickup and delivery in the driver app.
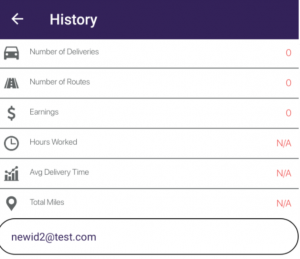
If Send Driver Cost App option is enabled for a driver, the driver will be able to see all the earnings on the driver app.
The added drivers will be visible under the driver grid


