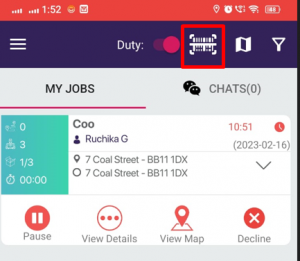
Step 1: Click on the scan icon available on Top of the Driver App
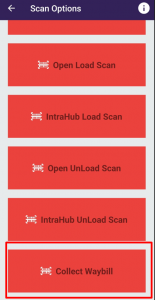
Step 2: Click on “Collect Waybill”.
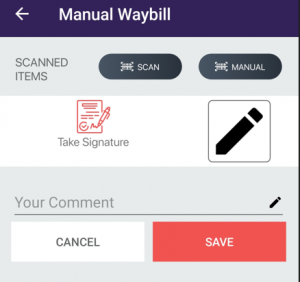
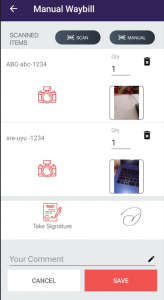
Step 3: Scan as many waybills as you want. You can even Manually enter the waybill number by clicking on the “MANUAL” button. Take picture, enter quantity , take Signature, enter comment and click on “SAVE”
The details of the scanned waybills will be stored on the Admin Portal (https://route.instadispatch.com/#/scanned-waybills). Then we can do booking of the Manually scanned waybills.
Manual Waybill Booking Flow
After the manual waybill is scanned , the data will be stored on the
https://route.instadispatch.com/#/scanned-waybills
Click on the”Logs” from the side menu.
Click on “Manual Waybills”
Then select the date range for which you need to see the data of manual waybill that have been scanned.
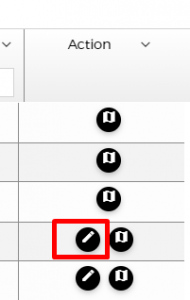
Inorder to do the booking, click on edit pencil on Action Column.
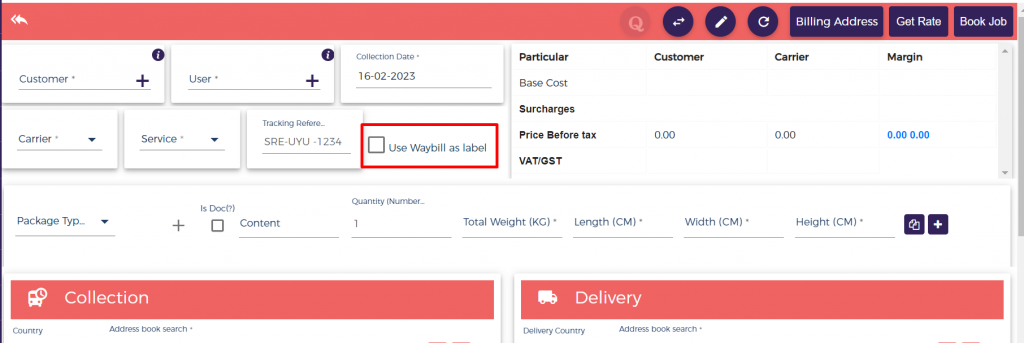
The shipment booking screen will open. There is an open to make the waybill Id as the label ID.
You need to enter the details on the page and then Click on Get Rate and Lastly click on Book Job. A shipment will be booked.
After the booking is done, the booked job can be seen on the shipment grid and the shipment status will be “Collected” for Manual Waybill jobs.


